

From Salon to Sanctuary: How to Safely Remove Your Gel Manicure Without Damage
We’ve all been there: your gel manicure has lasted beautifully for three weeks, but now the regrowth is visible, and the temptation to pick or peel at those lifted edges is becoming irresistible. It feels like a quick fix, but that one moment of "peeling" actually strips away layers of your natural nail plate, leaving them thin, brittle, and sensitive for months.
Preserving your nail health doesn't have to mean a trip to the salon every time you want a change. Today, we are sharing the professional's secret to safe, damage-free gel removal at home using the gentle power of a high-precision cordless nail drill.
The Golden Rule: Never Peel
Your natural nail is made of approximately 25 to 30 layers of keratin. Traditional gel polish is designed to bond deeply with these layers. When you peel off gel, you are forcibly ripping those keratin layers away. This is why "picking" leads to those white, flaky patches and nails that feel "paper-thin."
The safest alternative? The E-File (Nail Drill) Method. By using a professional-grade buffer, you are gently filing away only the synthetic gel material, leaving your natural nail bed untouched and strong.
Step-By-Step: The Professional Removal Ritual
Ready to transform your removal process? Follow this gentle, 4-step guide to keep your nails salon-strong:
1. De-Bulk the Top Coat
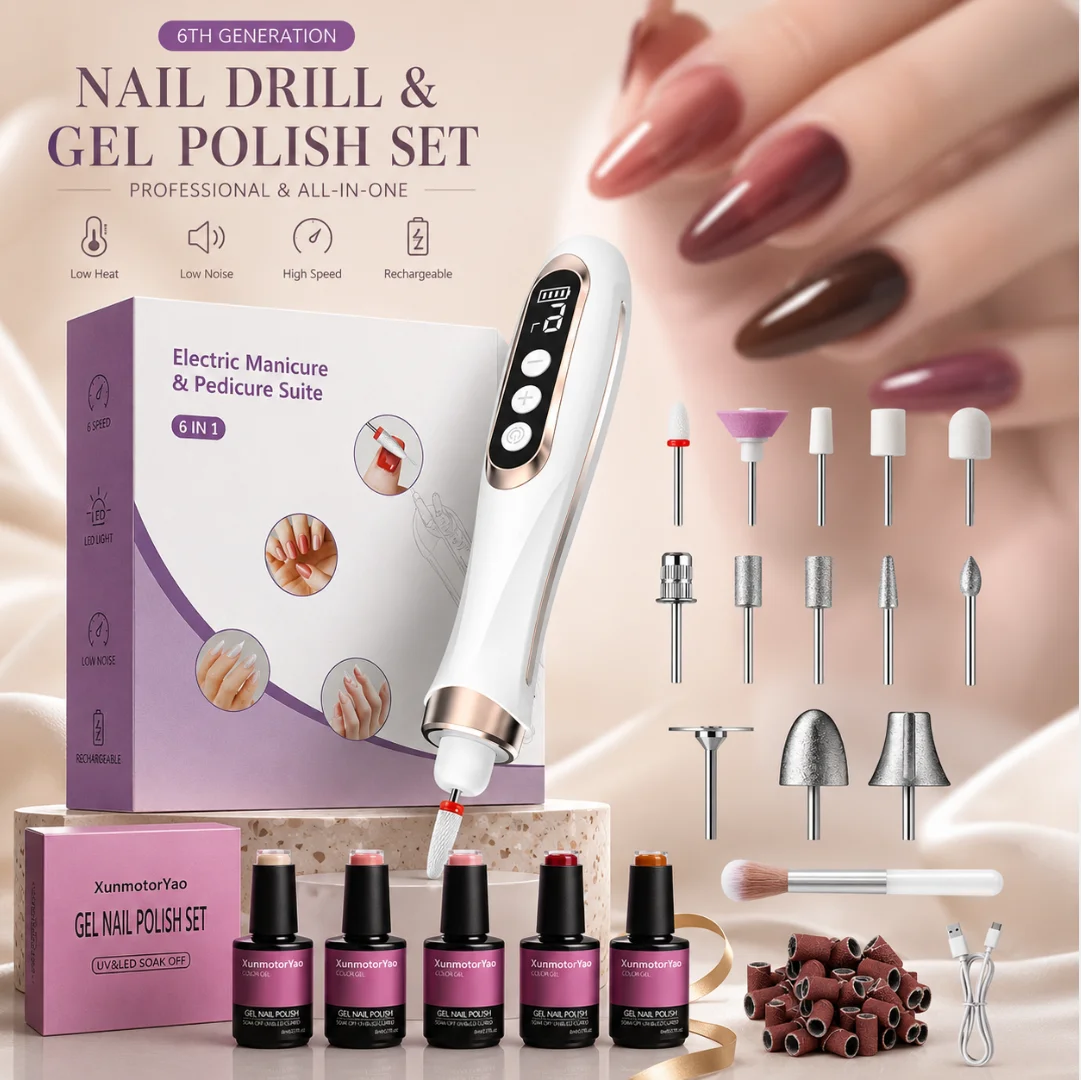
Insert a medium-grit metal bit or a ceramic safety bit into your HENGYUAOLER Cordless Wand. Set the speed to a comfortable medium (Gears 3 to 5). Gently move the wand in one direction across the surface of the gel to remove the high-shine top coat and the bulk of the color. Pro Tip: Let the speed of the motor do the work; never press down hard.
2. Focus on the Edges
As you get closer to the natural nail, slow down the speed. Use a fine-grit ceramic bit—these are wonderful because they produce very little heat, ensuring your fingertips stay cool and comfortable. Our 6th Gen Wand's built-in LED light is a lifesaver here, illuminating every edge so you can see exactly where the gel ends and your natural nail begins.
3. The Finishing Buff
Once 95% of the gel is removed, switch to a soft wool buffer bit or a fine sanding band. Use the lowest speed (Gear 1) to softly whisk away the remaining base coat. Your goal is a smooth, satin finish without ever touching the pink of your natural nail bed.
4. Nourish & Rehydrate
Removal is only half the battle. After the dust is swept away with your HENGYUAOLER fluffy brush, massage a rich cuticle oil or vitamin-E serum into your nails. This reintroduces essential moisture and keeps your nails flexible and resilient.
Why the Right Tool Matters
Not all nail drills are created equal. For a safe home removal, you need three things: Low Vibration, High Torque, and Absolute Precision.
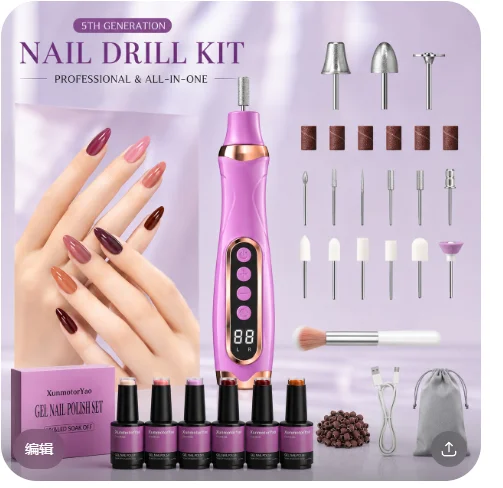
Standard, cheap drills often "jump" or skip on the nail surface, which is how accidents happen. HENGYUAOLER wands are engineered with premium coreless motors that deliver steady, unwavering rotation. This stability gives you the confidence to get close to the cuticle with the precision of a professional artist, but the comfort of a beginner.
Invest in Your Natural Beauty
Your nails are the only ten canvases you carry with you everywhere. By choosing a professional e-file over the "peel-and-pick" method, you aren't just changing your polish—you are investing in the long-term health and strength of your natural beauty.
Ready to upgrade your home salon kit? Explore our range of gentle, high-precision cordless tools designed for the modern, mindful woman.